Search Knowledge Base by Keyword
Installing Joomla using Softaculous on your cPanel
This tutorial will help you understand how to install Joomla using Softaculous within Cpanel of your UKHost4u.com account.
The first step, as always is to login into the cPanel using your credentials.
Now, navigate to the Softwares section within cPanel. It looks like below

Go to the Softaculous Apps Installer and click on Blogs.
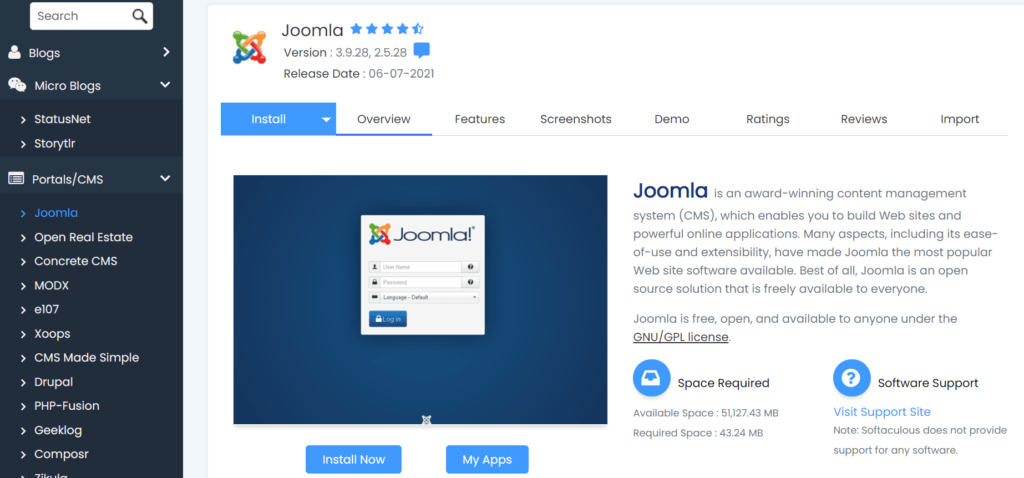
Inside the blogs section, you will see Joomla as one of the options.
At this moment, it is important to understand that Softaculous is a an apps installer within the cPanel. You have an option to install multiple apps like WordPress, Joomla, phpBB or other scripts.
Again, important to mention that most of these are no-code (or low code). You don’t have to get into databases, code etc. All that is automatically created for you.
Now that you are inside Softaculous, let us see how you can install Joomla inside it.
Click on Install in the Install Now tab. Once you do, you encounter the following page:
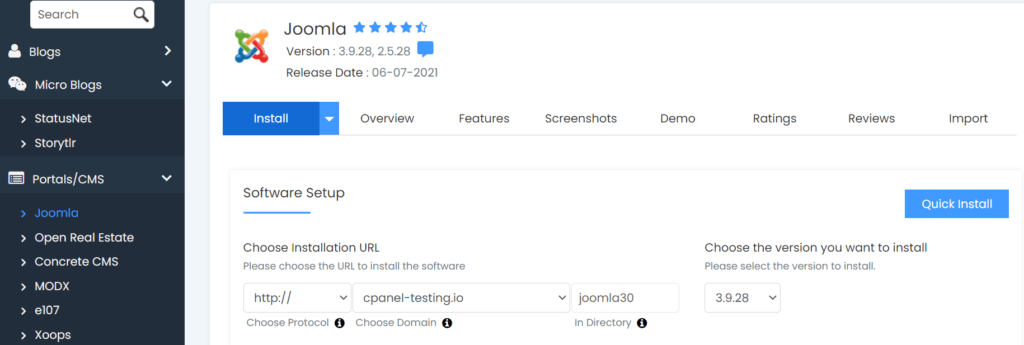
A quick method is to simply choose your domain name (within your existing domain/add on domains) – and select a directory if required. You can interestingly also chose the version of Joomla that you’d like to install.
Select “Quick Install” to create a new Joomla installation.
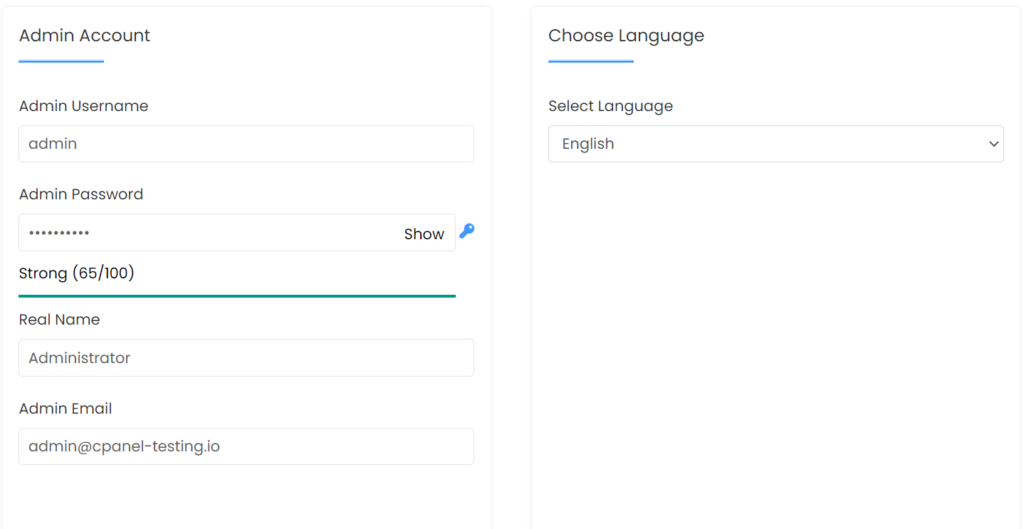
You can also set customized admin log in details via the below prompt on the same screen
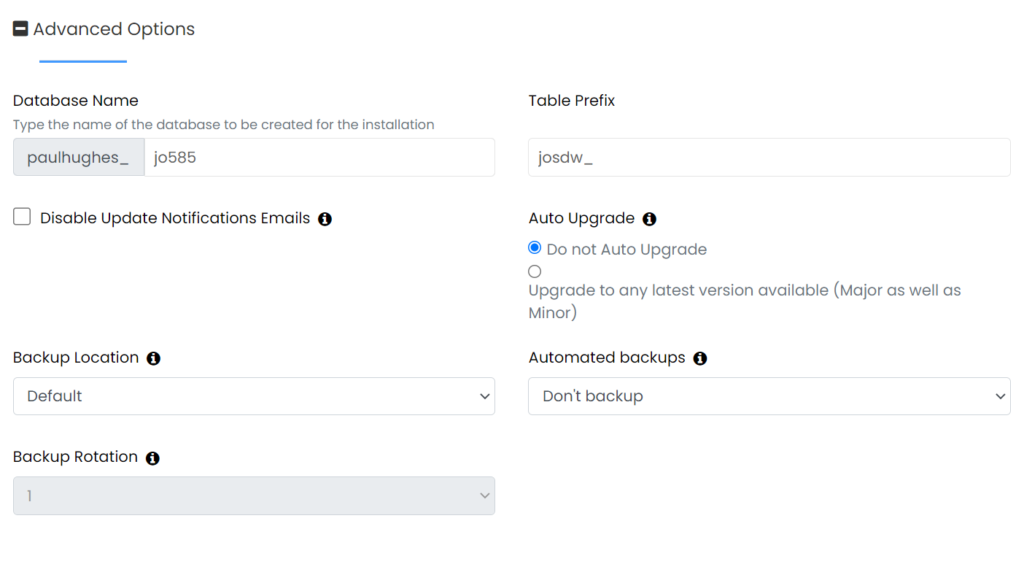
Another option is delve into details, and press the Advanced Options (+ sign). This gives you an ability to edit database and backup details
For example, in the below figure, the database will be named as paulhughes_jo585, and each table will have josdw_ as a prefix in order to understand that it belongs to this Joomla installation. You can edit all other details too.
Once the installation finishes, you will be given a login URL for you to access the Joomla Dashboard. Its that easy. You can also have it emailed to a particular ID.
